How to Start Streaming on Twitch: A Complete Beginner's Guide
Getting your first Twitch stream up and running is simpler than most people expect. You don't need expensive gear, a media degree, or thousands of followers waiting before you hit go live. What you do need is a basic setup, the right free software, and a willingness to learn as you go. This guide walks through every step in order — from creating your account to ending your first broadcast.
What You Need Before You Go Live
The minimum hardware required to stream on Twitch is a PC or console, a stable internet connection, and either a built-in or external microphone. That's genuinely it for day one.
Most beginners overthink this stage. A dedicated webcam improves viewer connection but isn't mandatory. A gaming headset mic works fine to start. Where you do want headroom is your upload speed — Twitch recommends at least 3–6 Mbps for a standard 720p60 stream, and 6–10 Mbps if you're targeting 1080p60.
On the PC side, a mid-range setup handles streaming without issue. An Intel Core i5 or AMD Ryzen 5, 8–16 GB RAM, and a dedicated GPU from the last four to five years covers the baseline. If you're streaming from a console like PlayStation 5 or Xbox Series X, those have built-in broadcast tools that connect directly to Twitch — no PC required for that path.
- PC or console capable of running your game
- Upload speed of at least 3–6 Mbps (test at fast.com)
- Microphone (headset mic is fine to start)
- Streaming software (covered below)
- Twitch account (free)
Setting Up Your Twitch Account and Channel
Creating a Twitch account takes about two minutes at twitch.tv — choose a username carefully, since changing it later affects discoverability and brand recognition.
Once logged in, head to your Twitch Dashboard via the profile menu in the top-right corner. This is your command center. From here, upload a profile photo, write a short channel bio, and set up channel panels — the customizable sections below your stream that can link to your social accounts, schedule, or donation page.
Channel panels aren't glamorous, but they matter. New viewers who land on your page between streams will look there to understand who you are. Keep it simple: one panel with a brief intro, one with your schedule if you have one, and one with a community link like a Discord server.
Before your first stream, also set your default category and game tags in the dashboard. Twitch uses these to surface your channel in browse pages. Picking the right game category is how viewers actually find you — leave it blank and you're invisible to discovery.
Choosing and Installing Streaming Software
The two main free options for streaming software are OBS Studio and Streamlabs. Both are free, both connect to Twitch, and either one is more than enough for a beginner setup.
OBS Studio (obsproject.com) is the open-source standard. It's lightweight, highly configurable, and used by streamers at every level from first-timers to full-time professionals. The interface looks intimidating at first, but you'll use maybe 20% of its features to run a solid stream.
Streamlabs is built on top of OBS and adds an integrated overlay library, alert system, and widgets aimed at beginners who want a faster setup. The trade-off: it uses slightly more system resources and the free tier has limitations on some features. If your PC is older or lower-spec, plain OBS Studio is the safer choice.
Download whichever you prefer, run the auto-configuration wizard when it launches, and let it benchmark your system. That wizard alone handles most of the initial setup — you won't be staring at a blank settings screen trying to guess numbers.
Configuring Your Stream Settings
Connecting OBS to Twitch requires your stream key — a unique code found in your Twitch Dashboard under Settings > Stream. Paste that key into OBS under Settings > Stream, select Twitch as the service, and the two are linked.
Beyond the connection, three settings have the biggest impact on stream quality:
- Bitrate: 3000–6000 Kbps covers most beginner setups at 720p or 1080p. Higher isn't always better — your viewers' download speeds set the ceiling.
- Encoder: If your GPU is Nvidia, use NVENC. AMD users should use AMD AMF. Only fall back to the x264 software encoder if your GPU doesn't support hardware encoding — it taxes your CPU more.
- Resolution and frame rate: 1280x720 at 60fps is a solid starting point that balances quality with performance. You can push to 1920x1080 once you've confirmed your system handles it without dropping frames.
The OBS auto-configuration wizard sets most of this automatically based on a quick test. Run it first, then adjust manually only if you're seeing dropped frames or quality issues during test streams. Don't optimize endlessly before going live once — real-world testing beats theoretical tuning every time.
Building a Basic Stream Layout
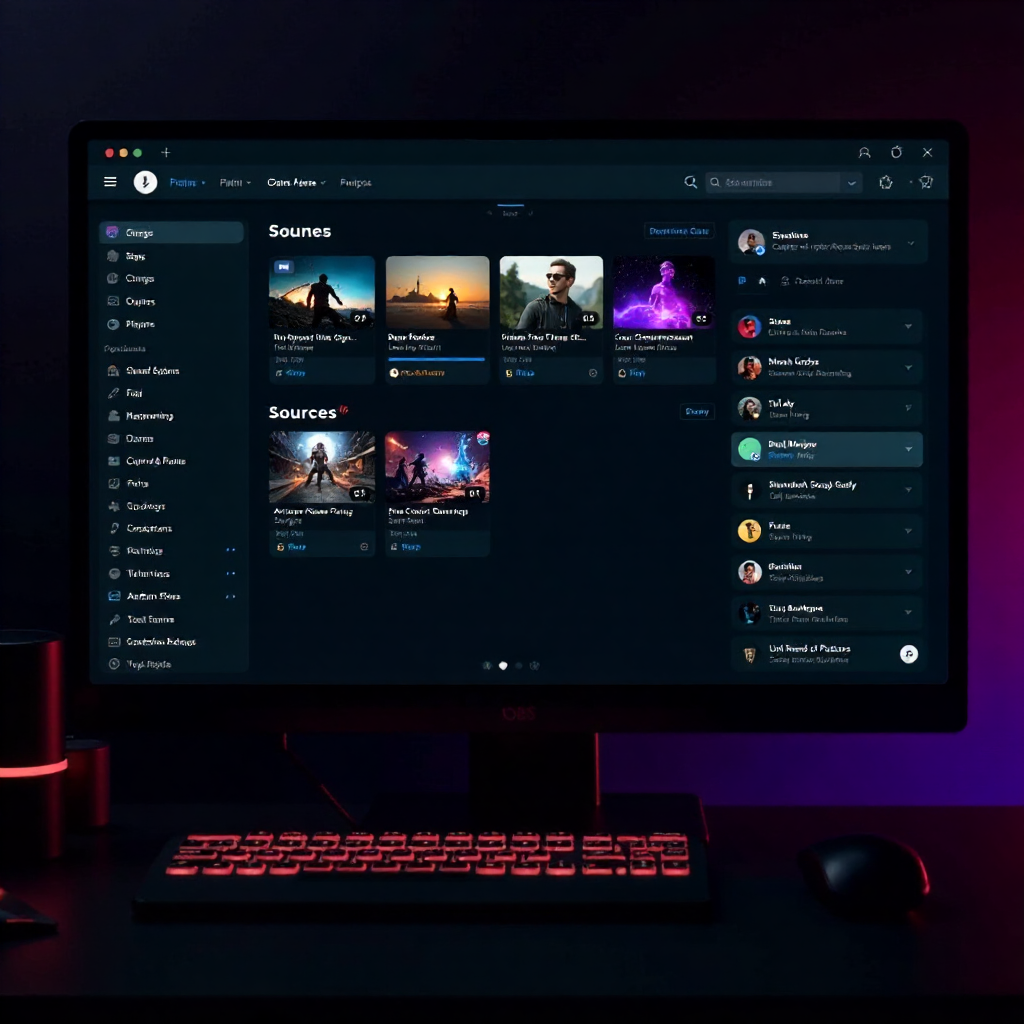
A stream layout in OBS is built from scenes and sources. A scene is a saved arrangement of visual elements — think of it like a camera angle. A source is an individual element within that scene, like your game capture, webcam feed, or a text label.
For your first stream, two scenes is enough:
- A gameplay scene with your game capture as the main source, your webcam in a corner, and a mic audio source
- A starting soon or BRB scene with a simple image or looping video so viewers aren't staring at a frozen screen when you step away
Overlays and alerts come next. Overlays are graphic frames that sit on top of your gameplay — borders around the webcam, an on-screen chat box, subscriber goals. Alerts are pop-up notifications when someone follows or subscribes. Both are optional for day one, but Streamlabs and sites like Streamelements offer free templates if you want something polished quickly.
Resist the urge to over-design before your first broadcast. A clean, minimal layout beats a cluttered one stuffed with widgets that distract from the game.
Going Live for the First Time
Before hitting "Start Streaming" in OBS, run through a short pre-live checklist to avoid the most common first-stream mistakes.
- Set your stream title and category in the Twitch Dashboard (or via the "Manage Broadcast" button in OBS)
- Check audio levels — game audio and mic should both register in the OBS mixer, neither peaking into the red
- Do a 2-minute test stream to a private account or use OBS's built-in "Start Virtual Camera" to preview your layout
- Confirm your stream key is active and the service is set to Twitch
When you're ready, click Start Streaming in OBS. Switch to your Twitch channel in a browser and confirm the stream appears live — there's a 10–20 second delay, which is normal. Talk through what you're doing, even to zero viewers. It builds the habit and makes early visitors feel welcome rather than dropping in on silence.
To end the stream, click "Stop Streaming" in OBS. Twitch will generate a summary in your dashboard showing peak viewers, average viewers, and total watch time. That data is genuinely useful — save it and compare it across streams to track early growth patterns.
Tips for Growing as a New Streamer
Growth on Twitch as a new streamer comes from consistency and discoverability, not luck. The platform's algorithm favors channels that stream regularly and tag their content accurately.
A few principles that actually move the needle early on:
- Stream smaller games. Dropping into a category like Call of Duty means competing with thousands of channels. A niche game with a smaller but active community gives new streamers real visibility.
- Use specific tags. Twitch tags (set in the dashboard before going live) help viewers filter by language, game mode, or streamer personality. Use 3–5 relevant tags every stream.
- Set a schedule and keep it. Even two streams a week on fixed days builds viewer habit. People return when they know when to find you.
- Engage in communities outside Twitch. Reddit, Discord servers, and even Twitter/X drive early traffic. Talk about your stream in places where your target audience already hangs out.
The Twitch Affiliate program becomes available once you hit 50 followers, stream for 8 hours, stream on 7 different days, and average 3 concurrent viewers — all within a 30-day period. It's reachable, but treat it as a milestone to work toward rather than the point of the first few streams. The first stream is about learning what works for you.
Growth takes months, not days. Streamers who stick around long enough to get good at presenting, at game selection, and at building community are the ones who eventually find an audience. The technical side you'll sort out in a week. The consistency is what separates people who streamed once from people who actually built something.
Frequently Asked Questions
What is the minimum PC spec needed to stream on Twitch?
A minimum viable streaming PC runs an Intel Core i5 or AMD Ryzen 5 processor, 8 GB of RAM, and a GPU from roughly 2018 or later that supports hardware encoding (Nvidia NVENC or AMD AMF). Older hardware can work with lower bitrate and resolution settings, but expect to troubleshoot dropped frames on demanding games.
Is it free to stream on Twitch?
Yes, streaming on Twitch is completely free. Creating an account, going live, and using OBS Studio or Streamlabs costs nothing. Twitch does offer a paid subscription tier called Twitch Turbo that removes ads for the viewer, but streamers don't need it to broadcast.
What is a stream key and where do I find it?
A stream key is a unique alphanumeric code that authorizes your streaming software to broadcast to your Twitch channel. Find it in your Twitch Dashboard under Settings > Stream > Primary Stream Key. Keep it private — anyone with your stream key can broadcast to your channel.
How long should my first Twitch stream be?
Aim for 1.5 to 2 hours for your first stream. Long enough to settle into a rhythm and let a few viewers find you organically, but short enough that technical issues or fatigue don't derail the experience. Twitch data suggests streams under 45 minutes rarely gain traction in discovery, while streams over 4 hours on day one often lead to burnout.
When can I become a Twitch Affiliate?
Twitch Affiliate eligibility requires hitting four milestones within any 30-day window: at least 50 followers, 500 total minutes broadcast, 7 unique broadcast days, and an average of 3 concurrent viewers. Most dedicated streamers reach this within 2–4 months of consistent streaming. You can track your progress live in the Twitch Dashboard under Insights > Achievements.